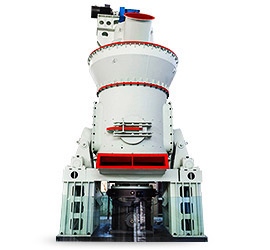
Making a mineral ball mill involves constructing or assembling a device that can grind hard materials like ores, ceramics, and chemicals into fine powders. Below is a step-by-step guide to building a simple yet functional DIY mineral ball mill:
—
Materials Needed:
1. Cylindrical Container (e.g., PVC pipe, metal drum, or thick plastic jar) – Acts as the milling chamber.
2. Motor (e.g., electric motor, treadmill motor, or washing machine motor) – Provides rotation.
3. Grinding Media (steel balls, ceramic balls, or pebbles) – Crushes the material.
4. Bearings & Shafts – Supports rotation (e.g., pillow block bearings).
5. Pulley/Belt System or Gearbox – Controls speed (optional but recommended).
6. Base Frame (wood or metal) – Holds the assembly.
7. Sealing Material (rubber gaskets or silicone) – Prevents leaks.
8. Fasteners & Tools (screws, wrenches, drill, etc.).
—
 Step-by-Step Construction:
# 1. Build the Milling Chamber
– Choose a sturdy cylindrical container (e.g., 6–12 inches in diameter).
– Reinforce the ends with metal plates if using PVC.
– Drill holes for the shaft on both ends and ensure they align perfectly.
# 2. Mount the Shaft & Bearings
– Insert a metal rod (shaft) through the container’s ends.
– Attach pillow block bearings to support the shaft and allow smooth rotation.
# 3. Attach the Motor
– Secure an electric motor to the base frame.
– Connect it to the shaft via:
– A direct coupling (for low-speed motors), or
– A pulley/belt system (to adjust speed; aim for 50–300 RPM).
# 4. Add Grinding Media & Material
– Fill ~30–50% of the container with grinding balls (steel or ceramic).
– Add mineral/ore material (~25% .jpg) container volume).
container volume).
– Seal tightly to avoid spills.
# 5. Test & Operate
– Run at low speed first to check balance.
– Optimal milling time varies (hours to days depending on fineness).
—
Key Considerations:
1. Speed:
– Critical for efficiency! Use the formula:
\[


Leave a Reply