


Creating a 2D AutoCAD drawing of a cone crusher involves illustrating its key components, such as the crushing chamber, mantle, concave (bowl liner), eccentric assembly, and feed/distribution plates. Below is a simplified step-by-step guide to drafting a basic cone crusher in AutoCAD:
—
Steps to Draw a Cone Crusher in AutoCAD (2D)
# 1. Set Up the Drawing
– Open AutoCAD and create a new file.
– Use appropriate layers for different components (e.g., `STRUCTURE`, `MANTLE`, `BOWL`, `HATCH`).
– Set units to millimeters or inches based on your preference.
# 2. Draw the Main Frame (Crusher Body)
– Use the LINE, ARC, and CIRCLE commands to sketch the outer casing.
– The crusher body is typically trapezoidal or conical in shape.
– Example:
“`
Command: LINE → Draw the base outline.
Command: ARC → Create curved sections for the upper part.
“`
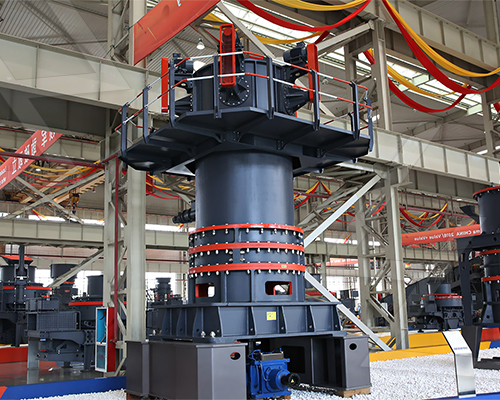
.jpg) # 3. Draw the Crushing Chamber (Mantle & Bowl Liner)
# 3. Draw the Crushing Chamber (Mantle & Bowl Liner)
– The mantle is the moving cone-shaped part; the bowl liner (concave) is stationary.
– Use offset or tapered lines to represent the gap between them.
“`
Command: OFFSET → Create parallel lines for clearance.
“`
 # 4. Sketch the Eccentric Assembly
– The eccentric rotates the mantle in a gyratory motion.
– Draw concentric circles for the main shaft and eccentric bushing.
# 5. Add Feed Hopper & Discharge Chute
– The feed hopper directs material into the crushing chamber.
– The discharge chute allows crushed material to exit.
# 6. Include Hydraulic/Pneumatic Components (Optional)
– If applicable, draw hydraulic cylinders for adjustment.
# 7. Add Dimensions & Annotations
– Use DIMLINEAR, DIMRADIUS, and text commands for labeling.
—
Example AutoCAD Commands for Key Features
| Component | AutoCAD Commands |
|——————–|——————————————|
| Crusher Frame | `LINE`, `ARC`, `TRIM` |
| Mantle & Concave | `CIRCLE`, `OFFSET`, `HATCH` |
| Eccentric Shaft | `CIRCLE`,